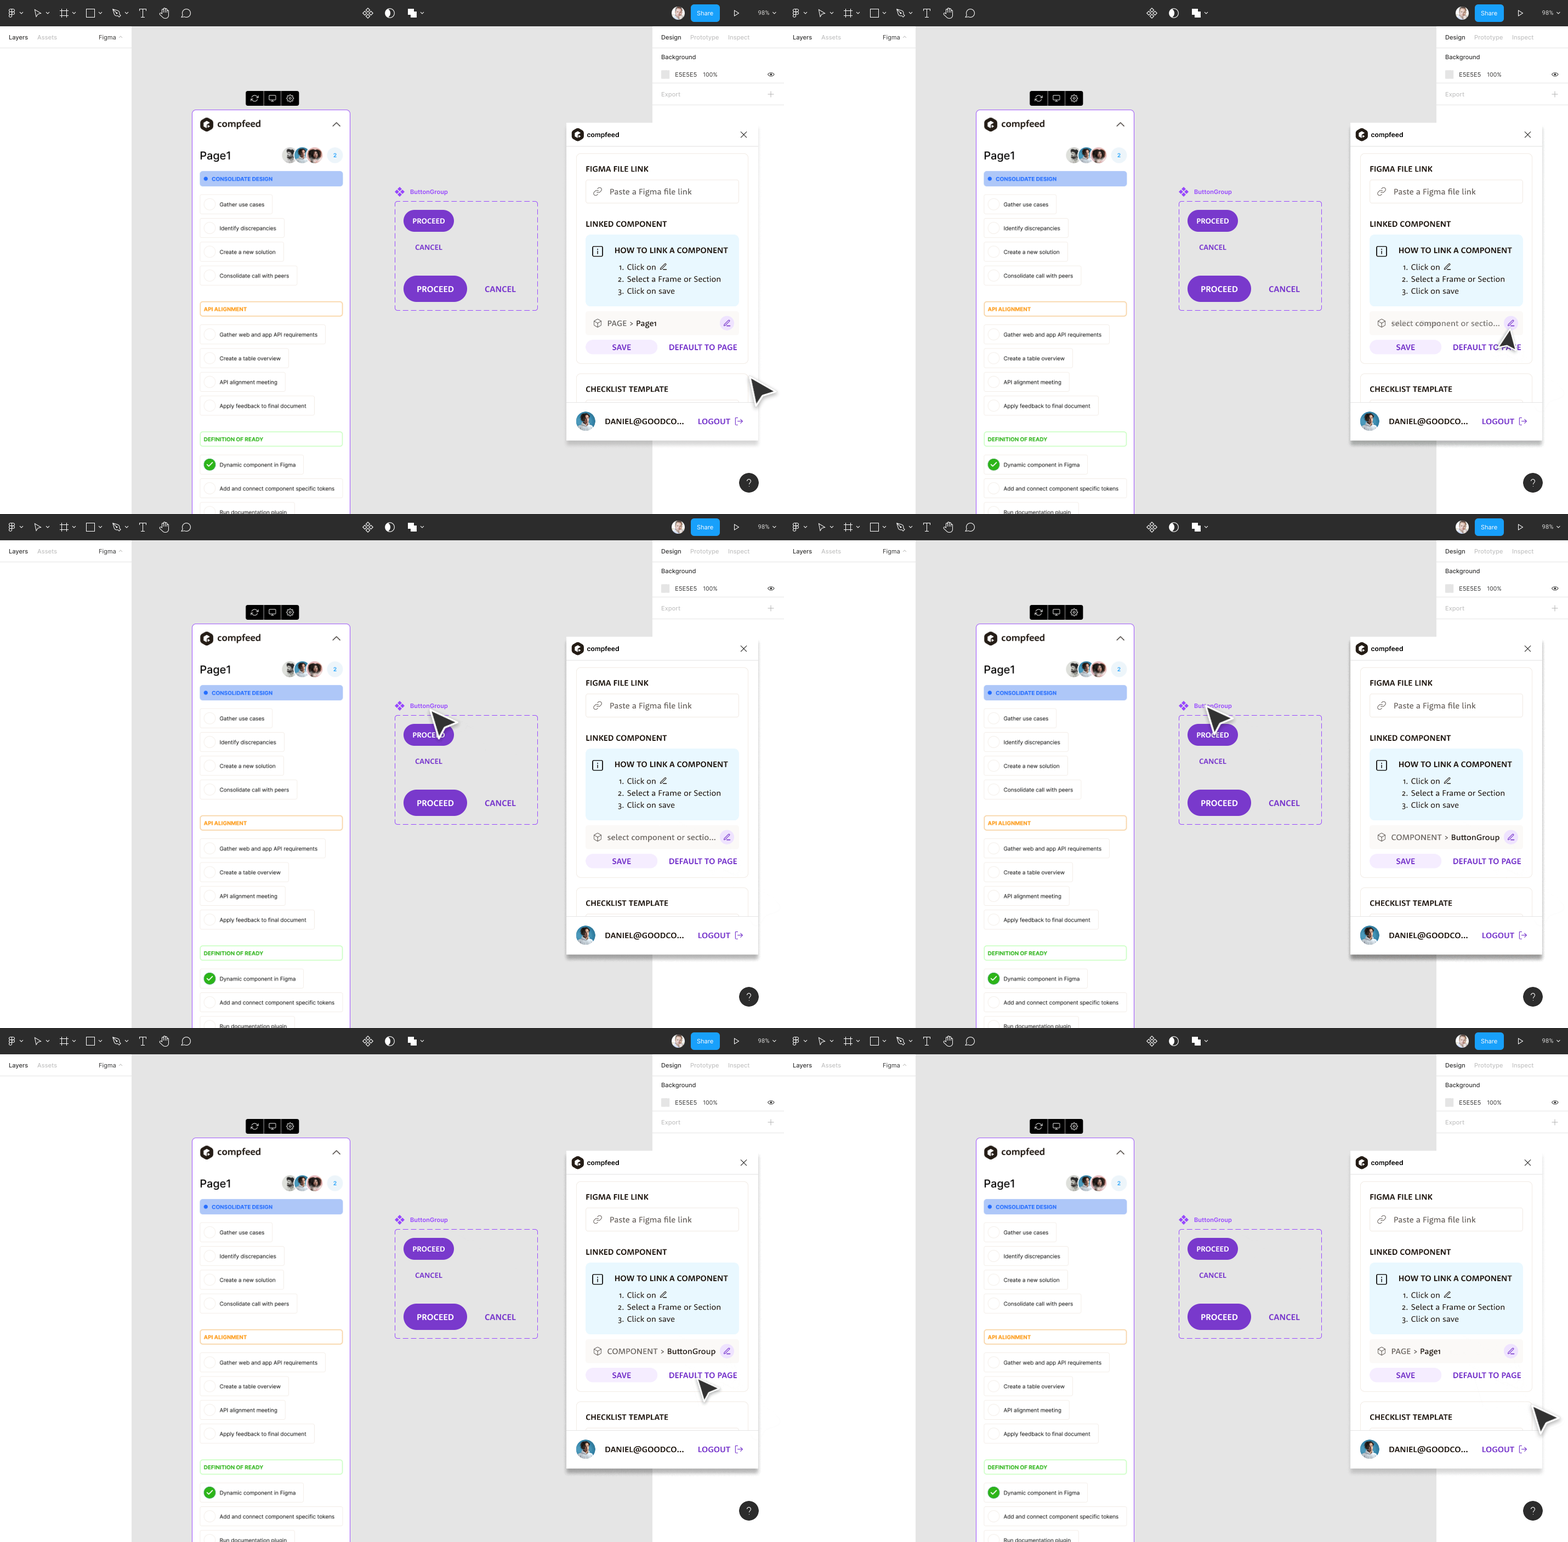
How to change the settings of the Widget
When you add a Widget to your artboard, it will, by default, link to a project. The name of the Figma file will automatically appear in the dashboard and on the Widget.
If you want to change the selection of a project or component, keep on reading to learn how.
Projects
With projects, you can connect multiple files to a single project. You can configure the Widget to connect your Figma or Figjam files to your chosen team, template, and project.
If you are starting a new project, create it first in the dashboard before it appears in the Widget.
Selecting a project
- Open the Plugin Window by clicking on the cogwheel of the Widget. If you still need to connect the Widget, connect it first.
- Make sure the ‘Project’ tab is open.
- Navigate to ‘Select Project’ and select your chosen project.
Need help finding the project you are looking for?
- Check if you have selected the right team.
- Refresh the Widget and check again.
Starting a new project?
- Click ‘new project’ and create a new one on the dashboard.
- Refresh the Widget.
A project is always bound to a file link and not a specific object, as opposed to components.
All Figma file links you provide will be valid, whether they are links to a file, page, or specific object of your Figma file.
Changing the team
- Open the Plugin Window by clicking on the cogwheel of the Widget. If you still need to connect the Widget, connect it first.
- Make sure the ‘Project’ tab is open.
- Navigate to ‘Team’.
Changing the team will load in new projects and templates. If the file you are working on wasn’t connected to a project, it will be now.
Changing the template
- Open the Plugin Window by clicking on the cogwheel of the Widget. If you still need to connect the Widget, connect it first.
- Make sure the ‘Project’ tab is open.
- Navigate to ‘Checklist Template.’
- When you click on the dropdown, you’ll be redirected to the dashboard, where you can change the template. This change will affect any widget in any file part of the project.
Need help finding the template you are looking for?
- Check if you have selected the right team.
- Refresh the Widget and check again.
- Check the dashboard to see where the template is available.
Add a new template?
- Go to the dashboard.
- Navigate to ‘All Templates.’
- Click on ‘Create new template’.
- Choose ‘Project’.
- Add the template name and description. Design a template to your liking.
- Navigate to ‘All projects’ and find the project you are working on.
- Click on the ellipsis and then on settings.
- Choose the template you just created.